Sprucing Up in St. Louis: 6 Essential Springtime Chores for Outdoors

garden lighting

Ahhh, nothing compares to the feeling of stepping outside and basking in the first sunshine of spring – especially here in St. Louis, where it’s a constant rollercoaster of weather experiences. Will it be sunny and warm today? Or perhaps chilly and gray? Or will we get to admire an ominous greenish-gray sky for a while? Spring in St. Louis is quite an adventure.

Despite the uncertainty of the season, it’s still a good time to take a look at what needs to be spruced up in your outdoor spaces. With a few relatively simple updates (and minimal money) you can easily give your home and yard a fresh new feel this spring. And once those summer temps have rolled in, you’ll be glad you can sit back and enjoy it in your upgraded and shaded outdoor spots.

Clean up the winter leftovers

We may not get a lot of snow here in St. Louis, but we do get plenty of cold weather, strong winds, ice, and rain. There can be lots of debris, and perhaps some damage, after a few months of winter. Now’s the time to do initial cleanup, and take stock of any bigger jobs. Make the rounds with a wheelbarrow or large trash can, gathering up small branches, debris, and anything else that needs to be picked up. As you do, check on hardscaping, gutters, large trees, and landscaping features that may have sustained damage. You can either put aside some time to tackle those jobs or call in a professional. Either way, it will be a relief to know it’s all taken care of before you have a crowd of people over for that graduation party or post-game barbecue.

Optimize your outdoor spaces

Optimize for activities that work best in sunny and naturally shaded areas. Remember: that warm spring sun feels great now, but when it’s 95 degrees and 90% humidity in mid-July, you’ll be craving shade.

Use the sunny areas for gardening and natural landscaping features, taking advantage of the natural light to promote healthy growth. Focus on using those cooler, shaded areas for comfortable outdoor living spaces.

Get organized

A little bit of effort can go a long way here. And we know, we know: it’s never fun to spend a day cleaning out the garage. But it’s much more tolerable on a pleasant spring day than a sweltering June afternoon. The same is true for those other outdoor spots that tend to accumulate toys, tools, and all that random stuff. There are three steps to accomplish: declutter, clean, and organize. First, gather up those random items and sort them out. Then, with the space cleared, you can do a quick cleaning. Sweep up debris and spiderwebs, wipe down surfaces, and hose off larger areas. Now you’re ready to organize. Hang gardening tools in the shed, gather up outdoor toys in a bin or chest, and get sports gear organized in the garage.

Stock up on supplies

Once you’re organized, stock up on the things that will make outdoor time better. There are fun supplies like water balloons, bubbles, and outdoor chalk. Then there are the practical things, like handheld fans, insect spray, and beer koozies. It doesn’t hurt to add in a few inflatable beach balls, outdoor games, and s’mores pokers.

Beat the heat

When summer blooms in its full glory, there are two things you need to enjoy your outdoor spaces: shade and a breeze. Think about how you can bring in more shade around relaxing and entertaining areas. Outdoor curtains, umbrellas, and shade sails can be good temporary solutions if you don’t want to invest in permanent structures. They’ll also create more privacy and elevate outdoor areas into spaces that feel welcoming and comfortable. For porches, gazebos, or other outdoor areas with an actual structure, consider installing an outdoor ceiling fan to generate a cool breeze.

Light up the night

Summers in St. Louis mean long sunny days and relaxed evenings. Where does your yard need outdoor lighting to make it safe, usable, and fun on those summer nights? 

Here are a few ideas:

  1. Pathway lights near sidewalks, entrances, and steps.
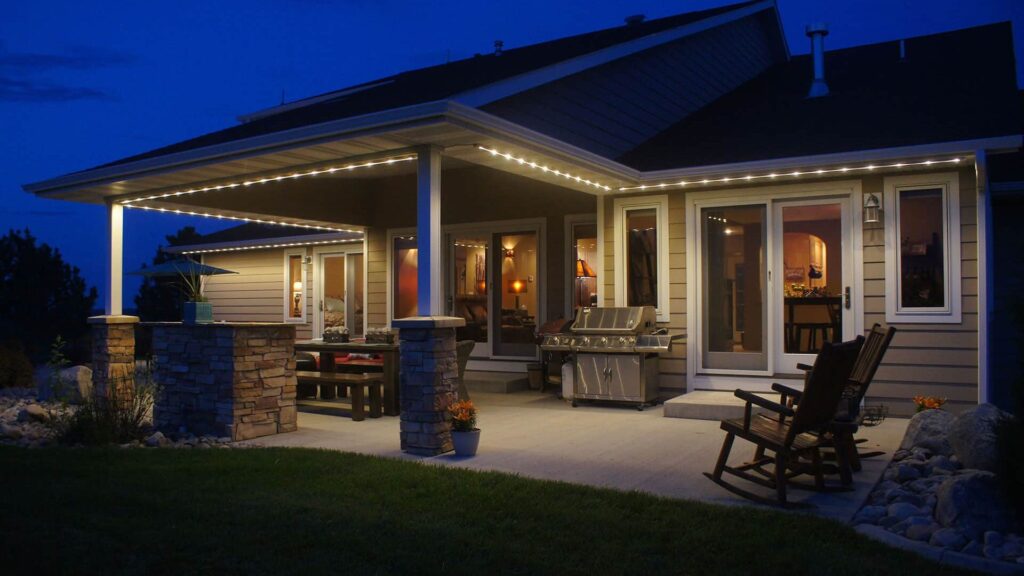
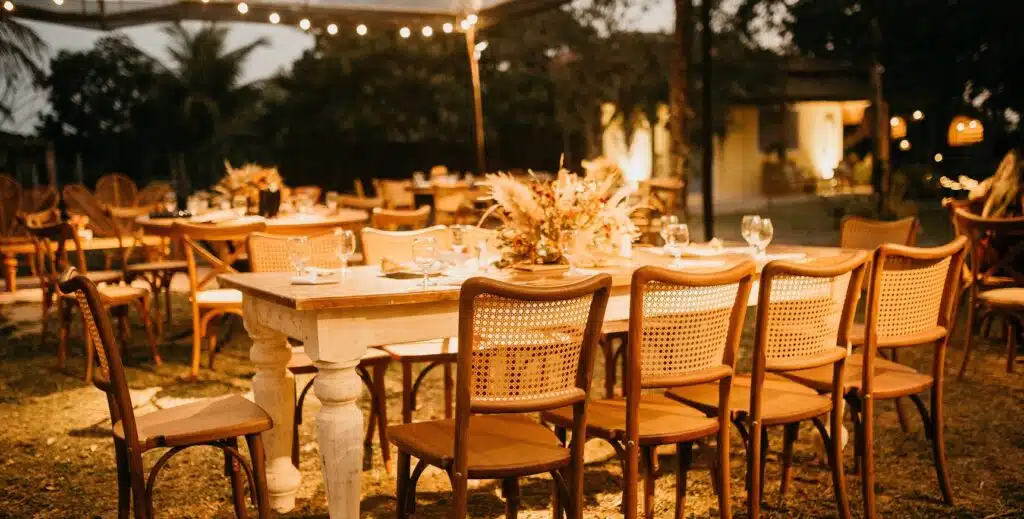
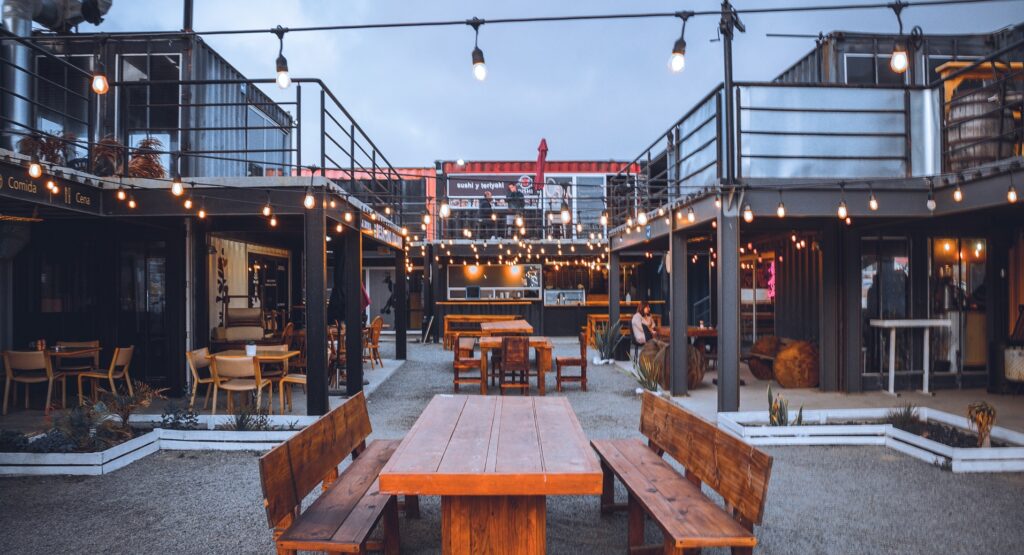
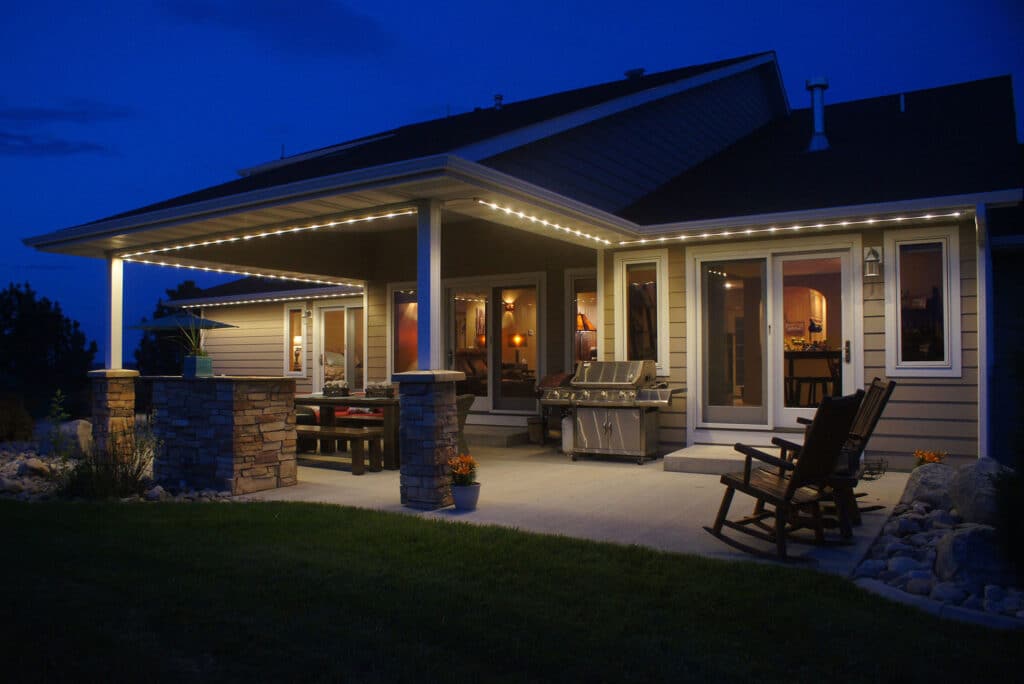
  2. Bistro lights over the deck or patio.
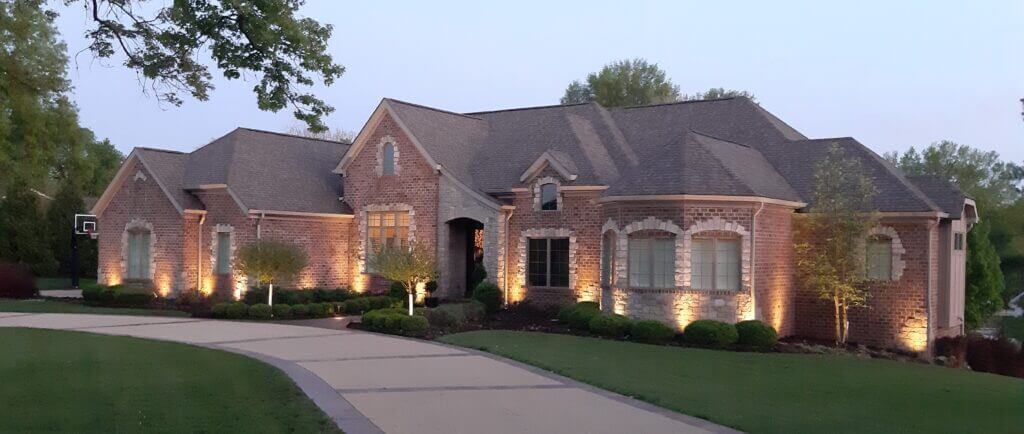
  3. Spotlights on a new landscaping feature.
  4. Pathway lights leading to the fire pit.
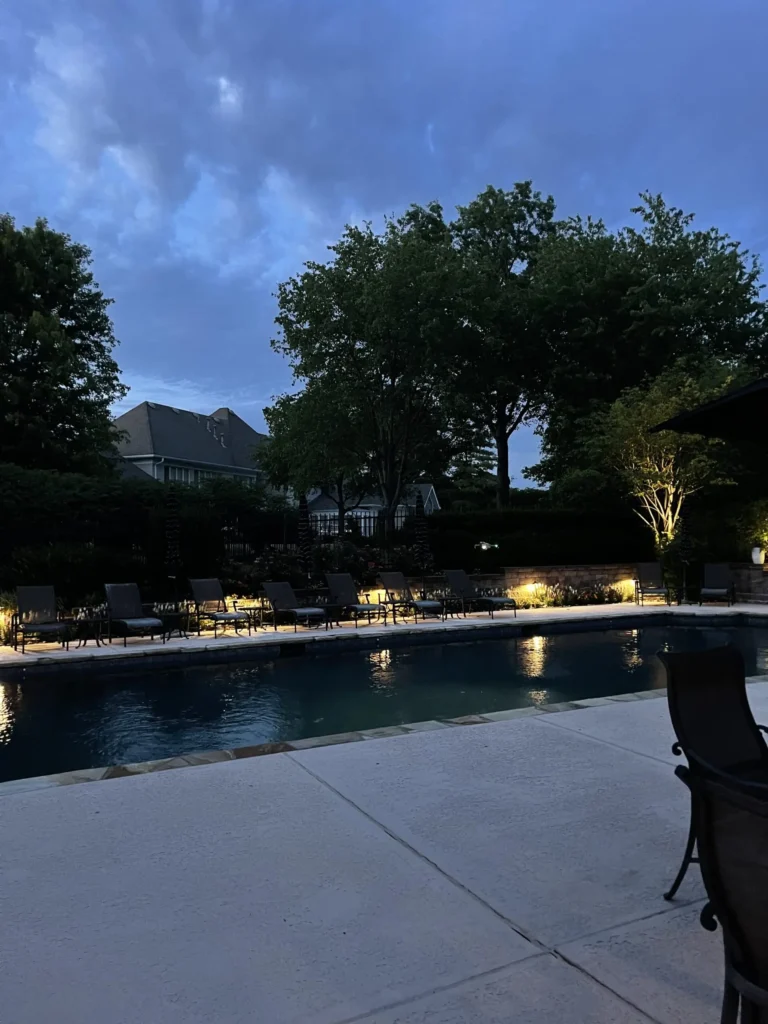
  5. Color-changing lights around the pool.

Get in touch if you’d like a free estimate on outdoor lighting that can make your whole home and yard sparkle at night. Ready for even more ideas? See these 7 outdoor living space upgrades to make the neighbors jealous.

Top Customer Questions about Outdoor Lighting System Design and Installation

When you’re about to invest in a professional outdoor lighting system, it’s wise to ask lots of questions. You want to know what to expect, consider all the options, and make sure you’re getting a good value. Here are some of the top questions we answer for our customers. As we design and install custom outdoor lighting systems for their homes and businesses, our goal is to match their vision and bring the perfect lighting to life.

What if I change my mind after the lighting is installed? 

Short answer: it’s no problem. We can make adjustments even after the lighting is installed. 

Here’s the longer answer: It’s rare that we need to make big adjustments after installation. We start with a custom design, and provide a demo so customers can see what the system will look like. Fixture placement is extremely customizable, and during the demo we can fine-tune to get it just right. Then we schedule the installation. 

We also design our lighting systems to be doable in projects. Most of the time people will start with one area and add another area the following year until the lighting system is complete. The installation is made for permanent placement, but there is no conduit used, so adding or relocating fixtures is not too involved. Our outdoor lighting systems are designed for alterations to be made, if ever desired.

How is the outdoor lighting system wired?  

The lighting is powered via a low-voltage landscape lighting transformer. The transformer plugs into a standard 110 Volt outlet, usually on the outside of the home on the back or sides of the house. We often install them in garages or basements. We’ll recommend a transformer with the correct output to handle all your lighting combined, as well as planned additions you may intend to make to your system.

How are the fixtures installed?

Most of the fixtures are attached to an 8-inch ground stake and are placed about a foot away from the home. We’ll work out the spacing and the angle of fixtures to produce uniform light coverage and highlight features, without creating shadowy or dim areas. We’ll also adjust the intensity and spread of the beam as needed for a welcoming glow and appropriate brightness, without intense or overwhelming lights. 

For fixtures attached to trees, we have special hardware to install the lights without damaging trees. For string lights such as bistro lights, if there are not adequate supports for mounting the lights we will cut and install custom support poles for the area. 

Do you have fixtures for different budgets?

We choose lighting brands that provide light fixtures and light output that meet our quality standards and provide options for our customers. 

Here’s a quick highlight of the brands we use:

  • Kichler has been around for a very long time and is the leading brand in the industry. They have the widest variety of pathway light styles, fixture finishes, and options for different lighting needs. Kichler is our high-end price point option. 
  • Sterling has a single uplighting fixture with variable light intensity settings that allows the fixtures to grow with the trees they are lighting up. They also offer the most substantial pathway light fixture on the market, in our opinion. Durability is almost always the number one concern with pathway lighting. Sterling is our mid-level price point option.
  • Dauer is a relatively new addition to our options. We have been using them for almost 5 years and they have the best price point among our options, but we are selective about the fixtures we use from Dauer, as some do not offer the quality that we stand behind. Dauer is our low-end price point option.

What kind of warranty coverage comes with an outdoor lighting system?

All equipment comes with their manufacturer’s warranty; we can direct you to the appropriate website for more specific info when you choose fixtures. The warranty start period for fixtures begins when the installation is completed.

Typically, the light fixtures we offer (from Kichler, Sterling & Dauer) hold a 10-year warranty for electrical failure and/or water damage but NOT for physical damage.

Our installation has a 1-Year Workmanship Warranty. This warranty covers any return trips needed for the first year. Why would we need to come back? We usually don’t, but if we do it is usually for damaged wires from critters underground. Also, we’ve found that when fixtures last all four seasons in their first year, we will not see them go bad for the next 10 years. Occasionally, there’s a fixture which goes bad within the first year due to overheating or bad seals. You’ll never have to pay to replace a dud fixture that is less than a year old.

How do I control when the lights turn on and off? 

Our outdoor lighting system installations come with two timing options:

  • A digital timer that self-adjusts for DST to operate the lights from dusk till dawn. This is a great option if you want things to work and don’t want to mess with the system at all. We will program it and you should never need to interact with it. No wi-fi needed, and it has a battery back-up to protect the memory in case of short-term power outage.
  • For those who want options and some hands-on control, we offer a Smart Wi-Fi Timer. You can set up different programs (e.g, dusk – dawn, specific times) and control these through your smartphone. We will assist in setting this up as well.

What type of maintenance is needed for an outdoor lighting system?

There are no bulbs to replace, as the LED is integrated into the fixtures. If the light goes bad, we can replace it with a service call, but there is no service fee during the 1-year workmanship warranty period. And we rarely see lights go bad after one full year of use.

For other aspects of maintenance, you’ll want to keep fixtures clear of debris and may need to straighten placement. After storms, ice, and heavy winds, it’s a good idea to walk through and pick up branches, remove leaves and dirt, straighten fixtures, and check for any damage. We also offer an annual maintenance plan to make things even easier for you. 

See what our clients have to say, and get in touch to schedule your custom outdoor lighting design and installation!

Planning a Low-Voltage LED Outdoor Lighting System

With the right lighting, a humble abode can become one with the stars. However, when energy consumption is an issue and prices are rising, is there a way to deliver the look without over-using resources? Sure, there’s a price to beauty, but it needn’t be ridiculously steep.

That’s where low-voltage systems come in. By definition, low voltage systems pertain to electrical equipment that uses 50 volts of electricity or less. They are used for a variety of things, but let’s focus on low-voltage outdoor lighting systems. 

Advantages of low voltage outdoor LED lights

1. Cost effective
While the initial cost of LED bulbs may be higher, the operational cost is less than that of standard bulbs since they require less energy.

2. Better output quality
Low voltage lights project a natural light with a range of colors and temperature options. From an aesthetic standpoint, you’ve got options to play with so you can tune the system to get the look you want.

3. Energy efficient
Low-voltage LED lights produce far more lumens than the average line voltage ones. They also have a greater lifespan than incandescents. They also do not produce a lot of heat, hence the efficacy.

4. Safety
Owing to the fact that they operate at a low voltage, a low-voltage outdoor lighting system is often preferred to prevent accidents. They don’t come safer than these. 

Is LED the way to go?

While low-voltage lights have many advantages, installation can be a little complicated. You need a transformer with enough capacity to run the entire system. And figuring out where and how to install supports and wiring can be a challenge.

However, we think the advantages far outweigh the work of installation. Over the years, the technology of low-voltage LED lights has come a long way:

  1. The light output is adjustable, providing a wide variety of aesthetic options.
  2. They don’t produce a lot of heat or ultraviolet light, so they usually don’t attract bugs.
  3. They last 13 times longer compared to conventional incandescent bulbs.
  4. They’re a very low fire hazard owing to their low voltage and low heat.

Plan a low-voltage LED outdoor lighting system


Take stock of your home’s exterior. Generally, you’d be thinking about lighting up the pathways and entrances as a starting point. You’d also be thinking about how you can install lights that add greater emphasis and panorama to the landscape surrounding your home. Here are some of the more popular LED choices for lighting up the outdoors:

Uplights: Uplights are popular for showing off the entire front of a house or building and highlighting features. The trick is to arrange them so they project a uniform look, while adjusting the angles to avoid any shadows or dark areas. There’s plenty of variety in terms of sizes, shapes and colors, so landing the style that works for you should be easy.

Spotlights: Spotlights, as the name suggests, are used to create focal points with a directed spot of light. Be it a tree, a statue, seasonal plants, or a water feature, you can use spotlights to make something the star of the show. As with uplights, there are plenty of types to choose from. You can adjust the lighting according to what you’re attempting to showcase, especially if it is a living feature.     

Floodlights: Floodlights are powerful outside lighting features that can cover large areas. Since the name of the game here is intensity, you shouldn’t need to use many of them. They are best used for security and practicality. 

Components of low voltage outdoor lighting

Low voltage landscape wiring: Low voltage landscape wiring comes in many sizes, being commonly available as 10-, 12-, 14-, or 16-gauge. The lower the number, the bigger or thicker the wire. It’s important to use the right size wiring for the amount of voltage. Also note that too much distance between the transformer and power supply can cause a voltage drop due to resistance in the circuitry.

Transformer: The transformer is the powerhouse of a low-voltage lighting system. It modulates the voltage supply coming in and dials it down to run the low-voltage LED system. Keep in mind that choosing the right transformer is important. Choose one with a maximum output that can handle the total output of all your lighting combined. You may also account for any future additions you may intend to make to your system and buy a transformer accordingly.

Annnnd time to light it up!

We’re here to help with planning, installing, and maintaining low-voltage outdoor systems for St. Louis homes, restaurants, and venues. Get in touch for a free estimate and custom demo.

A Winter Home Maintenance Checklist to Handle the Cold

Winter’s upon us, and as the holiday season settles in, we gather the family ‘round and let the festivities kick in. While all of that is the good stuff, winter’s got some bad stuff up its sleeve too, especially for your sweet abode. Thankfully, maintenance work and due diligence can help. Our homes tend to protect us a lot better when we take care of them. Besides, the cost of maintaining your home is almost always less than repairing the damage.

We’ve compiled a nifty winter home maintenance checklist to lead you along. Be it snow, sleet or winter storms, the big freezy conclusion to the year should remain an absolute breeze for you. 

Lighting maintenance

1. Lighten up!

 Outdoor lighting isn’t just about enhancing aesthetic appeal, but also safety. When there’s minimal natural lighting and rather treacherous territory to contend with, you need sufficient lighting to cover the area, especially around entrances. Lighting up the pathways is essential so you aren’t bumbling around at night. Get yourself some good outdoor lighting to not only add serious zing to your home’s appearance, but to avoid a painful tumble.

2. Run maintenance on your lighting system
Part of outdoor lighting is to ensure that your system can handle the rigors of winter. Make sure the lighting transformer is in good shape, and check the wiring and connectors. Keep your lighting fixtures cleaned off — don’t allow ice and debris to collect — and you should be golden.

3. Automate your lighting system
Given that the days will be shorter, set a timer for your lights to come on early. Not only will you have your front yard lit up at all times, you save energy.

Inclement weather prep

1. Get storm windows ready,
Your window screens might be overdue for a replacement. Even if you don’t use storm windows, it is good to replace or repair screens, tighten shutters, and be sure that windows seal completely before storms are in motion.

2. Waterproof and get that sump pump in order!
Seal any cracks in the walls, and make sure the sump pump in the basement is working properly. If you haven’t already cleaned debris out of gutters, do so now. Make sure gutters are attached correctly and are taking the water away from your house rather than routing it back to you.

3. Be ready for chaos.
Along with installing storm windows and doors, trim any tree branches surrounding your home to ensure minimal structural damage. Stock up on essential supplies to handle storms: salt for walkways, a good snow shovel, hand warmers, and thick work gloves, an ice scraper, flashlights, and batteries. Check that pipes are well-insulated and go through the efficiency tips below to ensure that your home retains heat. 

Winter home efficiency checklist

1. Look after the thermostat.
You might as well practice a bit of austerity in terms of using the heating system. If you turn down the thermostat a little, you can make some real savings. A favorite homeowner tip for the winter we swear by is reversing the ceiling fans. Have it run in a clockwise direction after you turn on the heat. This creates an updraft and brings down some of the hot air that rises to the ceiling. It’s a pretty neat way of saving energy while staying comfortable.

2. Get a ’Home Energy Audit’ done.
A Home Energy Audit basically entails a professional attaching a blower to your door to create suction and then seeking out any cracks where the air might seep through. This might sound simple, but it can make a ton of difference. A few tweaks to your home can save energy and keep you more comfortable in winter. 

3.  Replace the weather-stripping
Weather-stripping comes in many forms and is sometimes overlooked in the grand scheme of things. Over time, it wears off and needs changing. You may also need to reapply caulk; consider silicone caulk, which does not shrink and largely remains unaffected by elements on the outside.

With a bit of smart maintenance and good preparation, you can take the proverbial chill pill. Relax, do a little spring garden planning, and stay cozy all winter long.

How to Make Outdoor Venue Lighting More Energy Efficient

What can you do to both reduce operating costs and improve the guest experience at the same time? We’re so glad you asked! The answer is to upgrade your outdoor venue lighting. Modern, energy-efficient lighting can be one of the most reasonable and cost-effective improvement strategies for outdoor venues.

Embrace the LEDs

Lightbulbs have come a long way. Incandescent bulbs are a thing of the past. Light Emitting Diodes (LEDs) are the lighting type of choice for all commercial outdoor venue lighting. LEDs have incredibly long life spans, are energy efficient, and come in various color temperatures and shades. 

Get adjustable

Those “front of house” areas in outdoor venues often have quite a lot of range in lighting requirements. There are big factors, like seasonal changes and weather conditions. Then there are simple adjustments to make for the time of day (or night). And each event has its own particular mood, set in large part by the lighting. 

Make your venue’s lighting more energy efficient, and more customizable, by installing fixtures with adjustable LED bulbs. These can be set to the color temperature and brightness needed. You can choose color-changing LEDs, and pre-program them for different times, moods, and activities. For a venue manager, this is one of the easiest add-ons you can offer, and it has a huge impact on the guest experience for each event. 

Start with the big picture

Before you start throwing LEDs around, take a deep breath. Lighting isn’t about one fixture here and another fixture there, Old MacDonald style. Effective venue lighting requires a thoughtful design. Each fixture is part of a larger venue lighting system. The fixtures work together to make the venue look beautiful and create the mood needed for each event. 

We recommend starting with a little survey of the venue. Walk the premises at a few different times to notice the lighting and how it looks and feels. You may love how things look at dusk; a few hours later, the lighting might seem inadequate and those shadowy corners feel like they’re growing. 

Here are a few things to notice as you evaluate your venue:

  • Lighting in and around parking areas. Consider both security (bright lights as a deterrent to sketchy behavior) and safety (well-placed lights to help guests navigate and avoid obstacles).
  • Lighting that leads guests from parking to venue entrance. 
  • Uplighting around any venue structures and/or signage.
  • Kind, wattage, and quantity of existing lighting fixtures. 
  • Floor space to be lit, and range of lighting coverage needed. For example, if the venue has a flexible set-up and can be used for an intimate dinner party or a big dance floor, there’s a wide range of coverage, and lighting needs to be flexible and powerful. 
  • Current lighting levels and desired lighting levels. Where’s the gap? What’s in place now, and what’s missing? 
  • Outdoor features (architectural elements, landscaping, trees, water features) to enhance with exterior lighting.
  • Unused areas of the venue that could be converted and upgraded for activities with proper lighting.

Get a whole system design

Once you have a good site survey, you can start thinking about the outdoor venue lighting as a single system. A system includes the transformer, wiring and connectors, fixtures, and all the necessary mounting hardware and supports. 

One of the most important factors is the size of the transformer you’ll need. If you have a professional lighting design and know the entire load of the system, you’ll know what capacity you need in a transformer. Even if you’re not going to have the entire lighting system installed yet, you can still get the right size transformer — then, as you add more lighting elements, you won’t have issues. It’s more efficient to ensure you have the transformer you need from the beginning than to burn one out and have to replace it, or end up buying another one down the road. We’re the St. Louis outdoor lighting company you need to create a customized lighting design for your outdoor venue. Give us a call today and let’s talk about how to upgrade your venue with energy-efficient lighting.

St. Louis Holiday Lighting: How to Store String Lights and Outdoor Holiday Decor

how to store string lights

If you’ve lit up your St. Louis home with holiday lighting, now you face the chore of putting it all away. String lights and other holiday items are somewhat fragile. We’re here to help you figure out how to take them down safely and how to store string lights and other decor until you need them again.  

There are several good options that will allow you to easily store string lights and outdoor decorations until next year. Let’s start by looking at how to take down those holiday string lights. 

How to Take Down Your St. Louis Holiday Lighting

Taking down string lights and holiday decor can be a pain, for sure. If you take a little more time to do it right, clean everything, and store them well you’ll be happy about it next holiday season. String lights and decor can be expensive, so you’re protecting a great investment.

  • Unplug the lights after use.
  • Remove any strings, clips, or rope you’ve used to hold the lights in place before taking them down. 
  • Work with one string of lights at a time to avoid creating tangles. 
  • Start at one end of the string lights, gently pulling off the surface where they’re displayed and winding in a loose coil.
  • Keep each string of lights separate. 
  • Clean off any debris, dirt, or cobwebs. Pick debris off by hand or use a soft cloth or brush to carefully knock debris off the lights.
  • Make sure they are free of any moisture. If string lights are damp, stretch them out or hang them loosely in a protected place (such as the garage or a covered patio) until they are completely dry. 

If any of the cords are frayed, have exposed wiring, or are damaged in other ways,  it’s time to get rid of those string lights. 

How to Store String Lights after the Holidays

There are a few good methods for safely storing holiday string lights. We’ll go over those. First, here are a few tips that work for any type of storage:

  • Use a water-resistant container. Choose heavy-duty plastic instead cardboard, for example.
  • Choose a container with a tight-fitting lid. 
  • Avoid flimsy boxes. 
  • Use a container that’s big enough. Don’t crush lights into a space that’s too small and risk breaking the bulbs. 
  • Avoid stacking heavy items on top of the holiday string lights, as it can cause damage over time.
  • Store the lights in a place with adequate air circulation so they don’t get damaged by humidity or moisture.

Methods for Storing String Lights

For storing string lights, here are some good methods: 

  • Use shoe boxes (cardboard or plastic) and put a separate strand of string lights in each shoe box. Then stack the shoe boxes inside a larger bin. 
  • Coil each strand of string lights and put each one in a gallon-size zip top plastic bag. Store the bags in a larger waterproof bin. 
  • Thread the string lights through an empty cardboard tube. Secure the ends with a twist tie or rubber band to the tube. Stack the tubes in a bin. 
  • Wind each strand of string lights around a square of sturdy cardboard and secure the ends with a rubber band, clip, or twist tie. Stand the cardboard squares up like file folders in a plastic bin. 

How to Store Outdoor Holiday Decor  

Wait for a clear day–you don’t want to store holiday items after they’ve been soaked in the rain. Unplug any electrical cords, then move the decor items to your driveway or garage. Brush off any debris, leaves, or dirt. If needed, use a rag and warm soapy water to clean off each piece. Let everything air dry well, using a fan to speed up the process if you’d like. 

Remove batteries and wrap cords neatly. Inspect each item carefully for broken or cracked pieces, or other signs of wear and tear. If you find problems, repair or replace those items now so they don’t cause problems next winter. If you notice any frayed or worn-out power cords, it’s time to replace that decor. 

Large items should be wrapped with at least one layer of packing paper or a sheet, followed by two layers of protective material such as plastic sheeting or rubber matting. Fill in nooks and crannies with shredded paper or use bubble wrap to protect items that won’t fit into large plastic bags. If possible, store the items off the floor on pallets or shelving. If you have enough bulky items, consider renting or buying a storage unit. Make sure to put the items into the space so they are stable and so that nothing will fall on them. Don’t forget to bolt your shelves and storage racks to the wall for added stability.

Add a tag or clear label to each item. If you’re feeling really organized, make a list on your computer, noting where everything is stored. The goal is to make it easier on yourself next year when it’s time to bring out the St. Louis holiday lighting again. Winter holiday decorating is a wonderful tradition in many families. We think lights are an important part of the holiday season. They brighten up the darkness and create a magical effect for everyone. We’re here all year round to help with your home’s outdoor lighting needs. Get in touch for a free estimate.