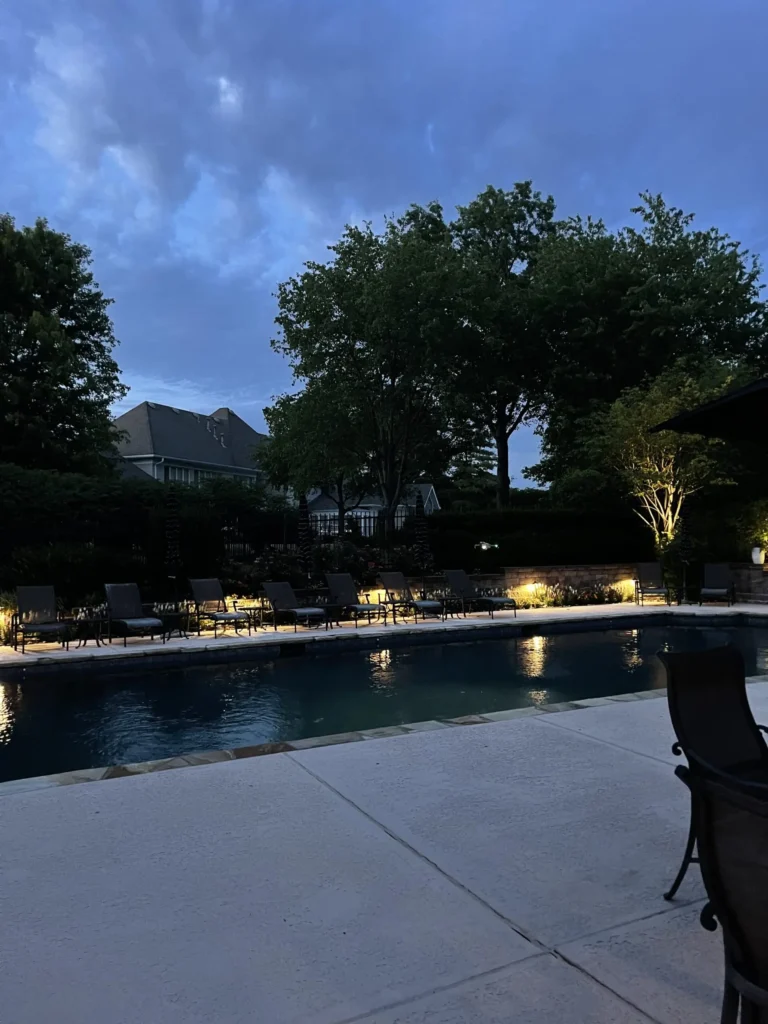
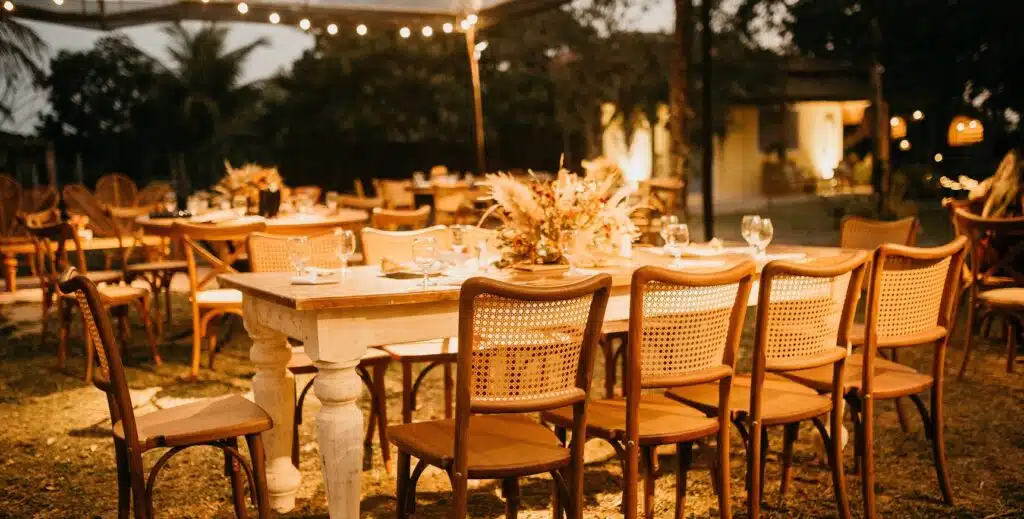
You work hard to make your home look great. Then the sun sets–earlier and earlier as the winter wears on–and all that hard work disappears into the dusk. You need great outdoor lighting to make your home look its best into the night. But a residential outdoor lighting system is different from a few haphazard lights installed in your landscaping or around your front door. A system is a complete design. The result of a good design is a cohesive, finished look that increases curb appeal and makes your home look steller, anytime.
Components of a Residential Outdoor Lighting System
The different parts of an exterior light include fixtures, lamps or bulbs (which are typically included with the fixture), a transformer, wiring, and connectors.
The transformer is typically the most expensive component, but it won’t do to be cheap when it comes to the transformer. It must be powerful enough to run the entire outdoor lighting system. If you try to get by with a smaller transformer, you may have big problems if you add more fixtures later or want to run temporary lighting displays for the holidays.
LED bulbs are by far the best choice for exterior lights, which may include spotlights, deck post caps with integrated LEDs, string or rope lights, pathway lights, and security lights with motion sensors. A permanent residential outdoor lighting system is hardwired to the transformer and can be set up with an automated timer. Some DIY fixtures and systems may be cord-mounted or solar-powered. Just be aware of the quality differences. Most DIY solar systems or cord-mounted systems are really not meant to last more than one season. If you only need a temporary lighting system, that’s fine. If you’re looking for something more permanent–a long-term addition to your home–then invest in a high-quality outdoor lighting system that will last and look great.
Getting the Right Number and Quality of Fixtures
One of the main items to consider when designing an outdoor lighting system is how many fixtures you’ll need for your home. People tend to underestimate. Professionals know that the right spacing for fixtures is what creates that polished look. For example, it’s often better to put fixtures closer together and at a lower intensity for a uniform look in home uplighting.
Consider these factors:
- How large is your exterior space?
- Do you want to install home uplighting?
- Are there certain parts of your landscape you wish to highlight?
- Where are there shadows or dark areas?
- What type of paths and walkways are around your home?
- Do you have exterior stairs that need lighting?
- Do you need to create a perimeter around any outside spaces?
Spacing the Lights in a Residential Outdoor Lighting System
The number of fixtures you need will depend on the area of your home and outdoor spaces and how far apart you space the fixtures. So, how far apart should you space the lights? Well, it depends on the function of each light and on the final look you want.
For residential lighting, the spacing between lights varies a lot, depending on what type of light you’re installing and what the function of the light is. Fixtures could be anywhere from 2 to 20 feet apart. We hate to keep saying, “It depends,” but it depends. You may want fixtures closer together near a pathway, and further apart to illuminate landscape features and trees.
With residential exterior lighting, you can also choose how bright each light should be. The style of the fixture is also a factor. If you have a very bright bulb with a wide spread (area of coverage from the light), you can space it out further. If you’re using a fixture that creates a narrow beam, such as a spotlight, you may need to place the lights closer together for the desired effect.
There’s a lot of subjectivity when it comes to a great design. After all, it’s your house. How do you want it to look? We love helping our customers design the perfect residential outdoor lighting system. Get in touch if you’d like a free estimate on a lighting system for your home.


